Pages

Monday, 11 November 2013

Fab Day !!


My word what a horrible day today, wet and windy !!

Yesterday was completely different with lovely sunshine and I spent it at the NEC !!

The first stand I came across was "Little Claire"


Had a natter with Steve, he's a lovely guy !!  So strange to see some of my work on display....


Just had to have these two to add to my collection !!


Then came across lovely Lindsay Mason who was busy as ever, but we had a good laugh and long natter as well as a big hug !! 

Aunty Diane didn't forget the two terrors either !!


Then met Lynda Chapman from Cupcake Crafting who has just made a CD using Suzettes Crafty Sentiments Designs images called " Her Comes The Girls"


Lynda said the CD was selling really well, so please look out for it !!


Look at these fab wooden buttons I found !!  Aren't they super cute !!


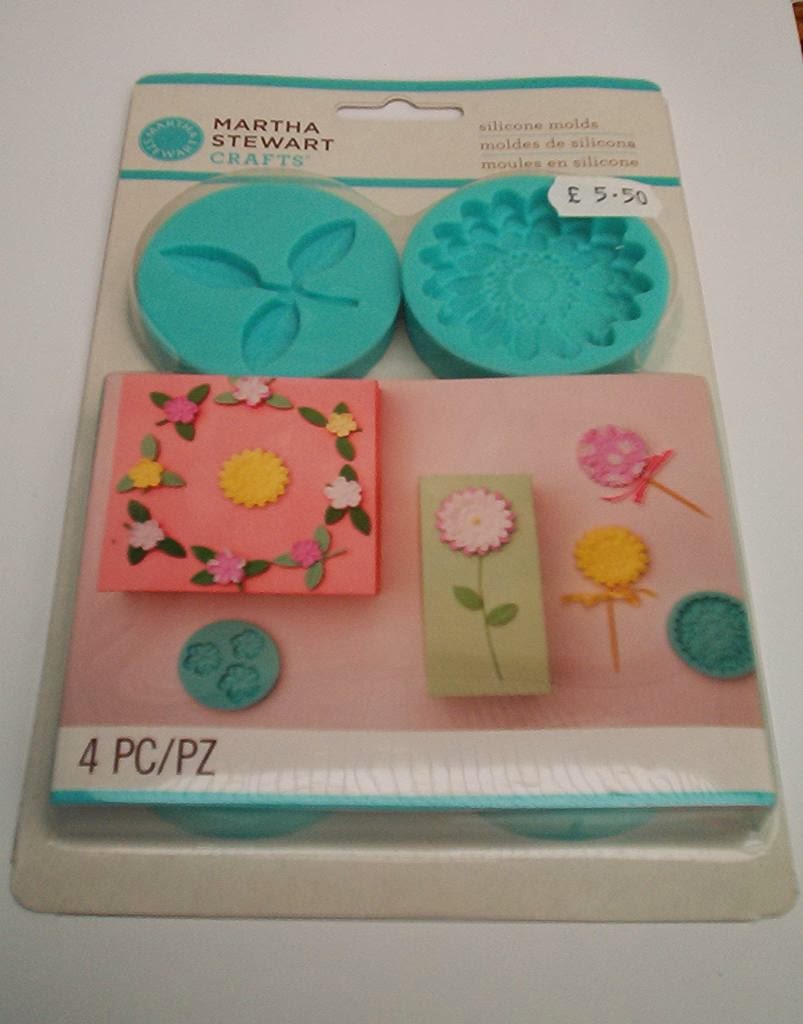
Super moulds from Martha Stewart

A bargain punch only £5 !!


Another bargain only £5 as well !!


Just love the socks on his ears !!

I did have a great spend up, but far toooooo much to show you !!

These also jumped into my bag !!


What are they ?? ....... well tea and coffee stir'ers from the cafe'.  Now there must be a crafty use for these !!

Can't take me anywhere....

Saturday, 9 November 2013

FREE P&P this weekend !!


http://www.craftysentimentsdesigns.co.uk/

This offer does inclued
 International orders
 as well as UK !!

I love to shop at:

Friday, 8 November 2013

Deck The Horns !!


 Morning peeps !!

 It's my turn for the friday project at Little Claires and I thought I'd show you how to make this fab door hanger for Christmas using "Deck The Horns"


 You will need:
A wooden door hanger blank
Little Claires "Deck the Horns" stamp
Dovecraft Back to Basics Christmas paper pad
White and black card
Promarkers
8 buttons
White dotty and red dotty ribbon
Twine
3 gold bells
Black "Happy Christmas" stickers
 Spellbinder dies-Snowflake Pendent and Labels Eight
 -----------------

1- Cover your wooden hanger with chosen paper, I've used the red and green spotty paper and distress the edges with a craft knife.


2- Stamp"Deck The Horns" image onto a piece of white card and colour in using promarkers, then die cut out with Labels Eight die. Using the same die onto a piece of black card draw round outside and cut out. Distress edges and glue both pieces together, add "Happy Christmas" stickers and then mount onto front of door hanger.


3- Tie a piece of twine through each of the 8 buttons, glue 6 in a line along front of hanger.

4- Die cut one large snowflake from piece of white card.

5- Cut one legth of whit dotty and one length of red dotty ribbon and tie a big bow. Gently heat with heat gun to crinkle ribbon. Now glue snowflake and one red button onto bow and then glue onto top of door hanger.


6- Onto a piece of red dotty ribbon, thread three gold bells and then crinkle ribbon with heat gun and glue to front of hanger.

7-  Make a bow using white dotty ribbon and then crinkle with heat gun and glue on top of red ribbon with bells. Now glue last red button in centre of bow.


 Little Claire have so many christmas stamp that would look great on this door hanger, why not have a look and make your own fab door hanger in time for christmas !!

Would love to enter:
ABC christmas challenge: reindeer
Bearly-Mine challenges: anything goes
Jolly Holly Christmas Challenge: traditonal colous
Papertake Weekly: anything goes
Ribbon Carousel Challenge: holidays and celebrations
Bunny Zoes Crafts; ribbon

----------------


Wednesday, 6 November 2013

Chilly


Last Saturday at AMOM it was Scrap Club and an Autumn theme, so I thought it would be fab to use my photo's of  my cute woolly hats for the Innocents Big Knit for Age UK.

 You would'nt believe this started out as a plain piece of card !!


We coloured with Pan Pastels, stamped with distress inks to make our backgrounds.


Embossed colour core card and coloured with Pan Pastels. Made a couple of tags.


Then finished off with some twine and eyelits to make a border !! Great fun  !!

Monday, 4 November 2013

48 hrs SALE !!


http://www.craftysentimentsdesigns.co.uk/


Circle waste !!


Morning peeps !!

Had a fab time yesterday with friends making christmas decorations,  we flittered and glittered and made bead charms to hang at the bottom of each of our wood decorations. !!  Great fun was had by all  and we all got in a bit of a mess !!

Anyway here is my last Little Claire card using the new stamp club set called "Swirlball Flowers" which I said about in my last post from yesterday.  I've used the waste from the diecut circles and embossed it with a script embossing folder.


Mounted it on 3d foam tape onto a green card, then punched out 8 smaller circles of white card, coloured with a green promarker and then stamped just the flower head onto each one. Coloured all of the flowers in different colours and finished off with an edge of black dots. then glued each one on the card base. The centre cirle is the origional diecut with on of the sentiments.

 There you have it !!

Sunday, 3 November 2013

Swirlball Flowers


Good afternoon peeps !!

Boy last night the wind really picked up, but we still had fireworks going off all round us !!  How on earth they managed to set them off and safely I don't know !!

Anyway start of a new month means new Little Claire club stamps !!


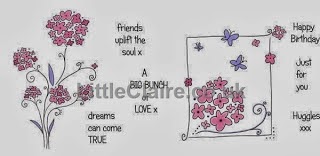
Such a pretty set and here are a couple of cards I've made.

 Included in the set is a cute single flowerhead stamp and thats what I have used to make my background paper. The circles are from a die cut sheet which is white, but I colour matched them using promarkers and then used the sets sentiments. For the blue and pink borders I just used promakers again to egde white card.


 For the second card I used the framed flowers and butterflies and stamped it four times rotating each time time. Coloured in with promarkers and edged it with black dots. Again used one of the circle die cuts for the sentiment.


I've made one more card using the Swirlball Flowers which I'll show you tomorrow....never throw anything away even your die cut circle waste !!
Related Posts Plugin for WordPress, Blogger...